We begin this installment of the C-10 resto-mod with focus on the cab and replacing the rusted floor pans. Depending on the condition of the floor pan and the desired level of restoration, multiple options are available for any budget consideration. After discussing some options, our client selected a full floor pan replacement which will compliment the detailed fabrication already completed and other areas targeted for replacement in the cab.
Picture 1: shows the original floor pan and its deteriorating condition especially around the perimeter where the metal overlapped the lower walls of the cab.
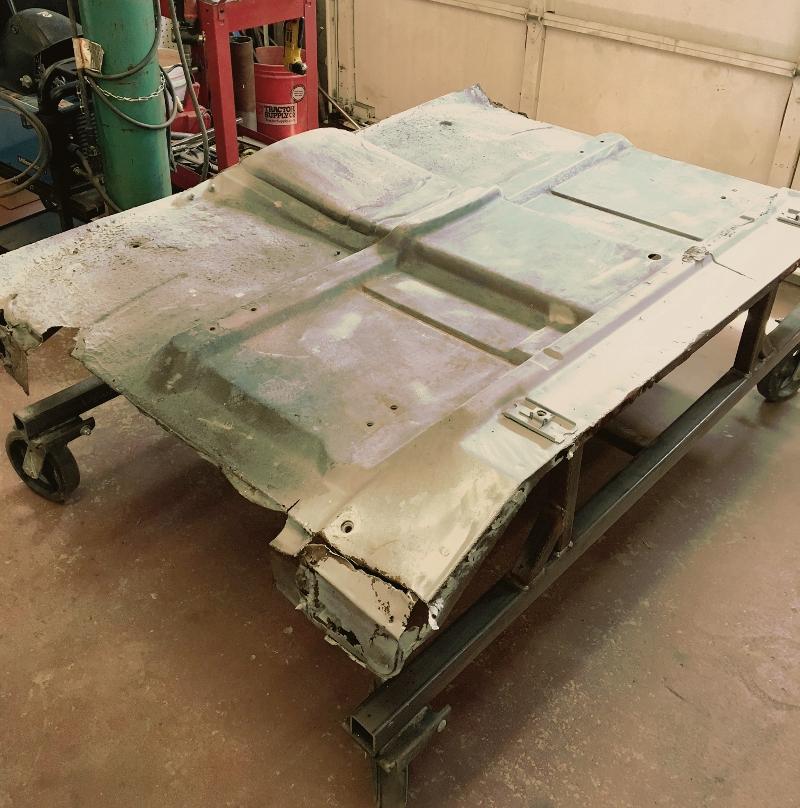
Pic 1: Rusty Floor Pan
Picture 2: new painted/coated heavy 16 gauge steel preformed one piece floor pan ready for installation.
Preparing for the floor pan install, structural bracing was fabricated in our metal shop to align the C-10 cab to fit precisely to the new floor pan. This step is critical and not to be underestimated.

Pic 2: New Pan
Picture 3 : bracing attached to the cab and ready for the next phase of the install.
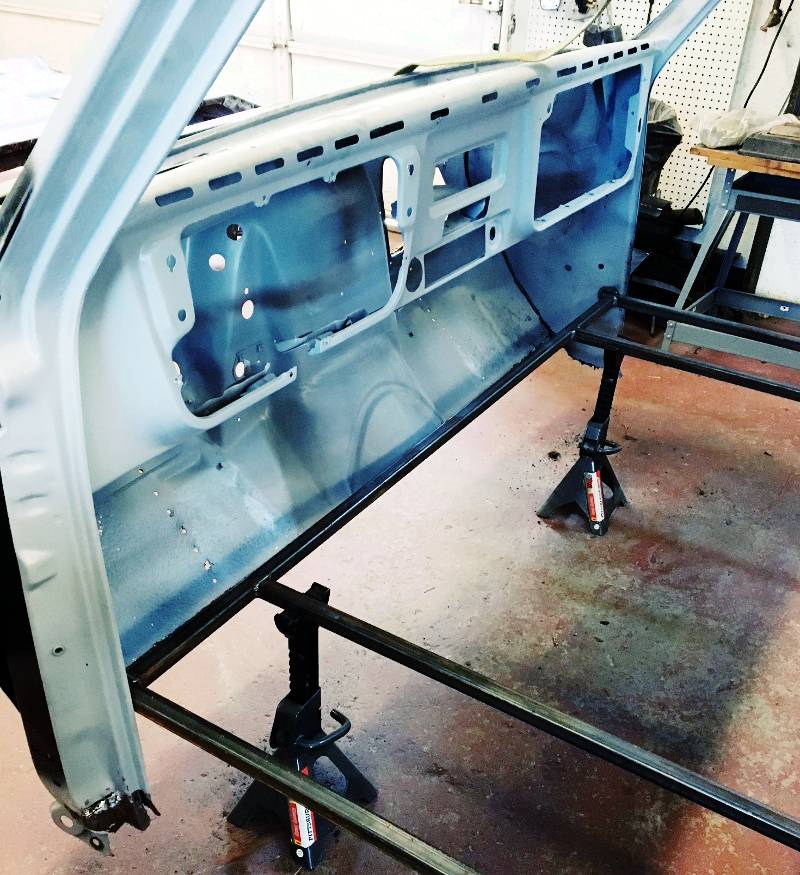
Pic 3: cab with braces attached to it
Picture 4: new floor pan pictured behind the cab and ready to be attached to it.
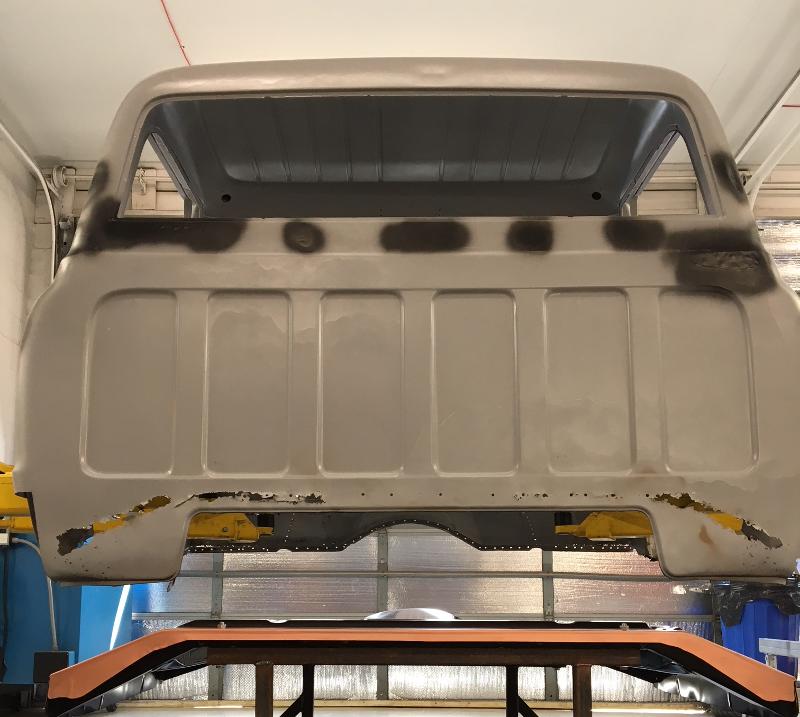
Pic 4: new pan seated behind car
Picture 5: C-10 cab on lift with braced floor pan positioned underneath on rolling dolly to ease placement of both components.

Pic 5: cab on lift, new pan on dolly underneath
Picture 6: the new floor pan was perfectly aligned to the cab and then attached to it with ease. Use of the bracing was instrumental and guarantees a better than factory fit.
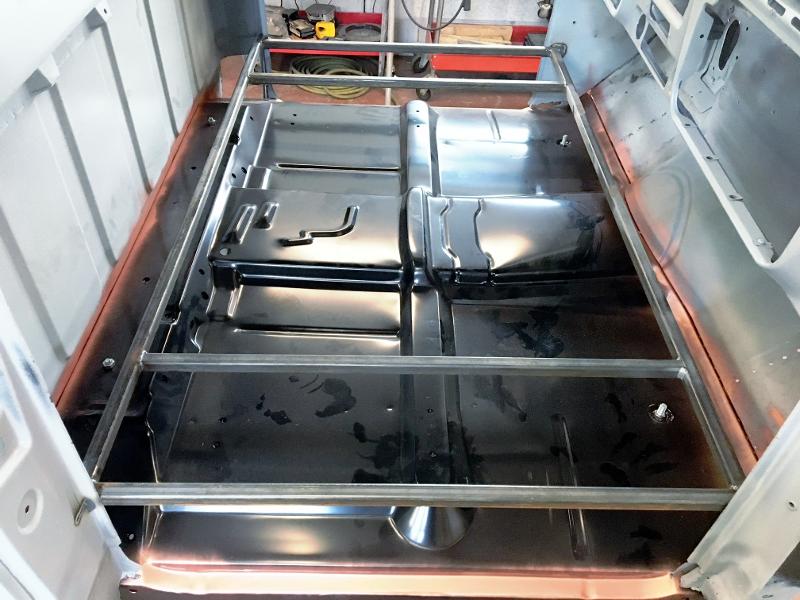
Pic 6: new pan attached
Stay tuned for the next stage!
To follow along with the previous Stages, see Stage 1, Stage 2 and Stage 3.