Leading Basics and Installation Guide
by Troy Smith
Body Mechanic/Fabricator
In this article we will be taking a closer look at some leading basics on a restoration project vehicle.
The purpose of this article is to explain how to professionally install and finish lead repairs using proven techniques. This can be the difference between a quality repair, and a repair that could fail in the future.
Disclaimer: Before we begin, all standard safety precautions should be followed when working in a shop environment. Common sense rules the day!
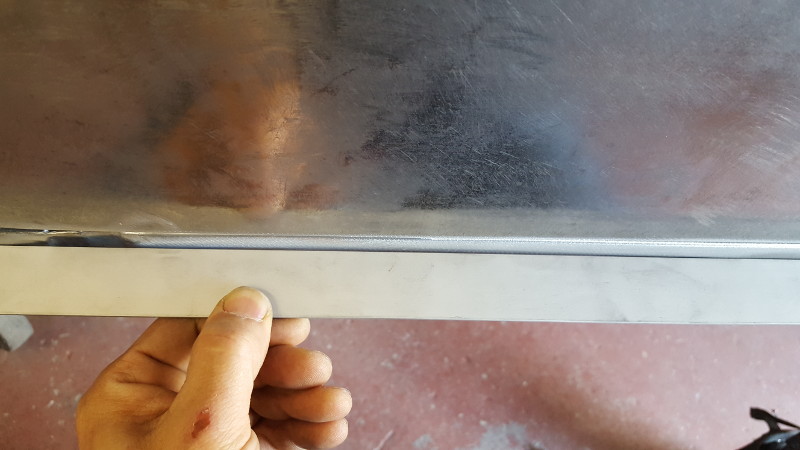
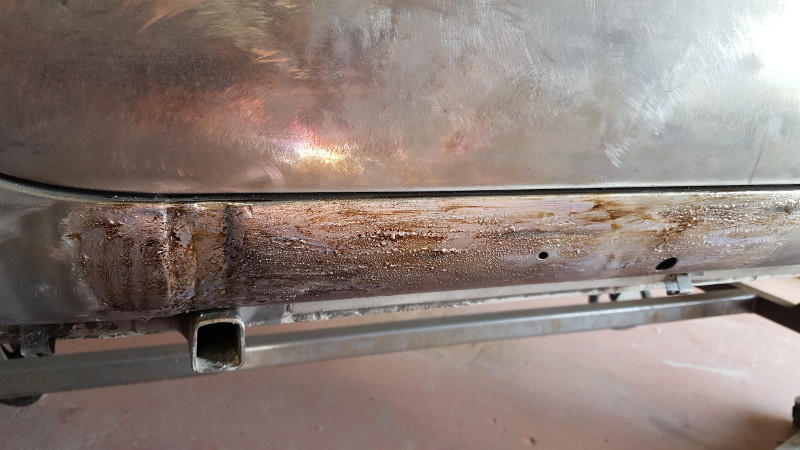
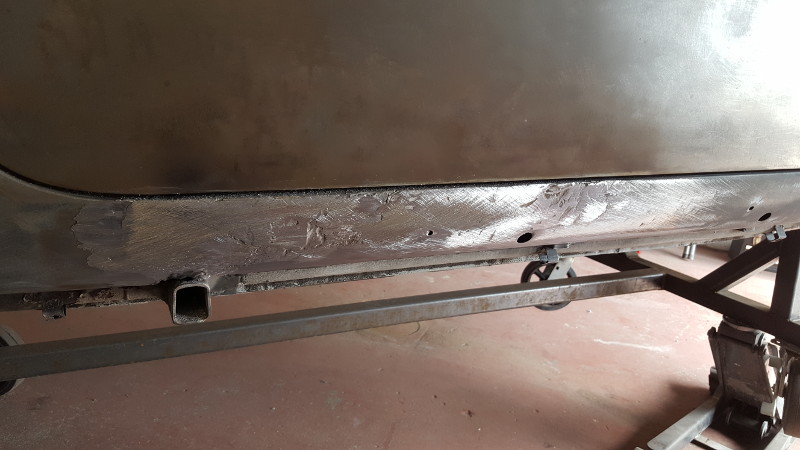
In Image 1, you can see that the area we will be working on is the factory seam where the rocker and the quarter panel meet, just above the jack post. This area has been cleaned, prepped and is ready for the lead work to begin.

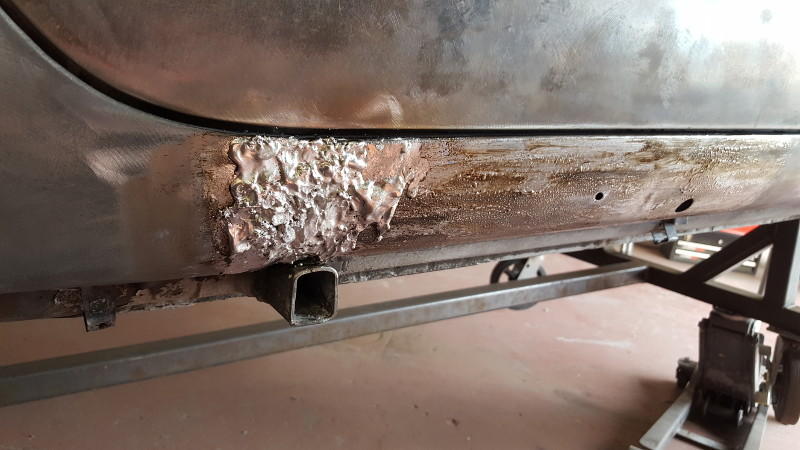
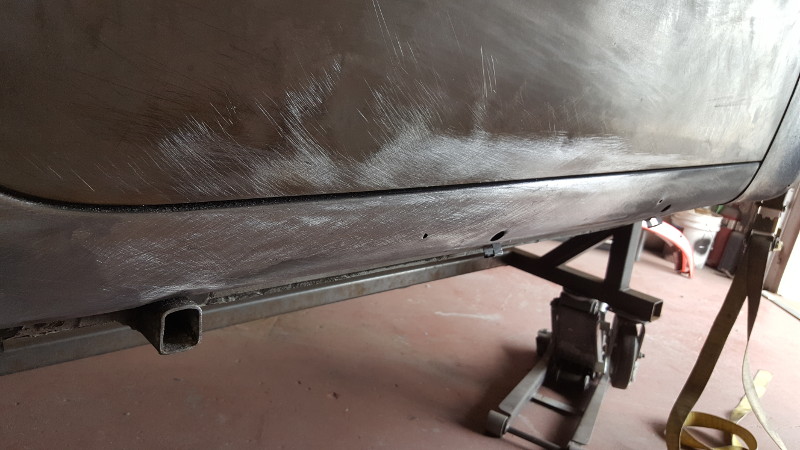
In Image 2, you can see the seam on the left but you can also see on the right, that the rocker edge is below flush in relationship to the quarter panel and the bottom door edge. We will be addressing both of these issues during this repair.
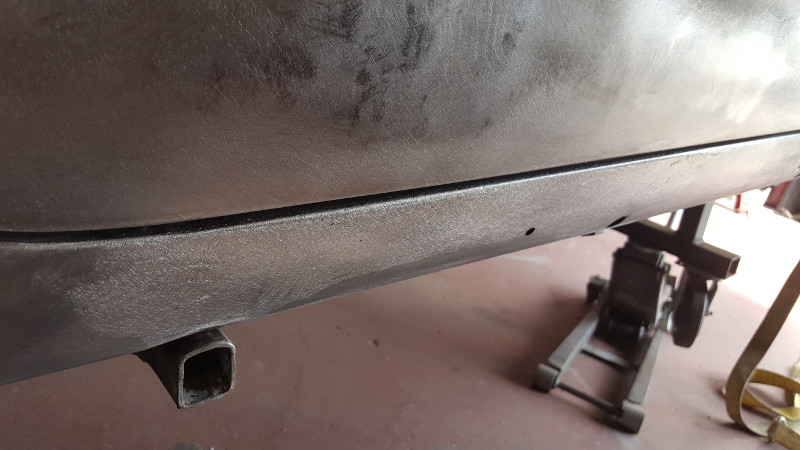
In Image 3, take notice of the 3/32” gap, that at just few feet away looked negligible, but up close looks clearly out of place.
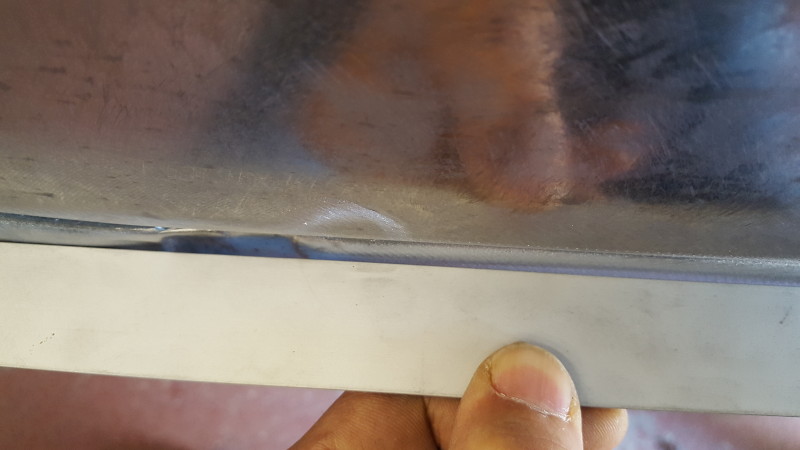
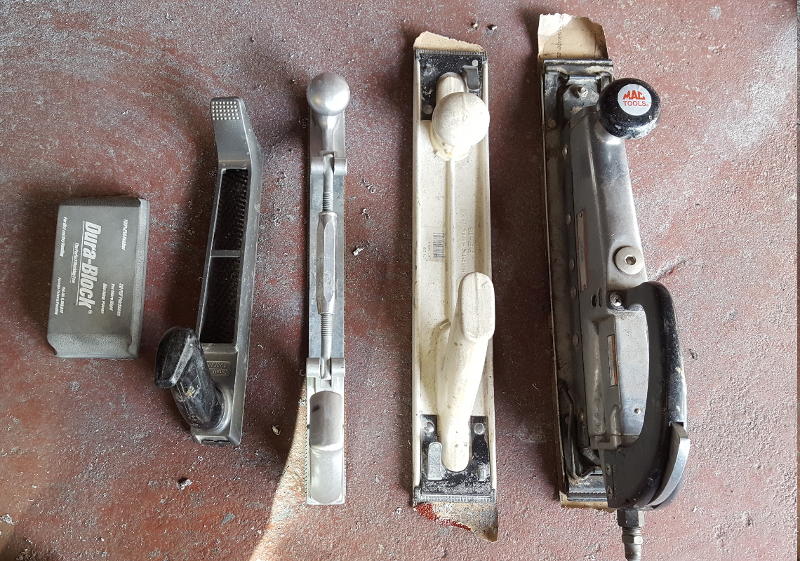
Image 4, shows some of the basic tools we will need to do our lead installation. From left to right, we have a smoothing paddle, tallow, our lead, a brush and Flux-N-SolderTM (the tinning product, which will be referred to simply as flux for the remainder of this article) followed by our heat source.
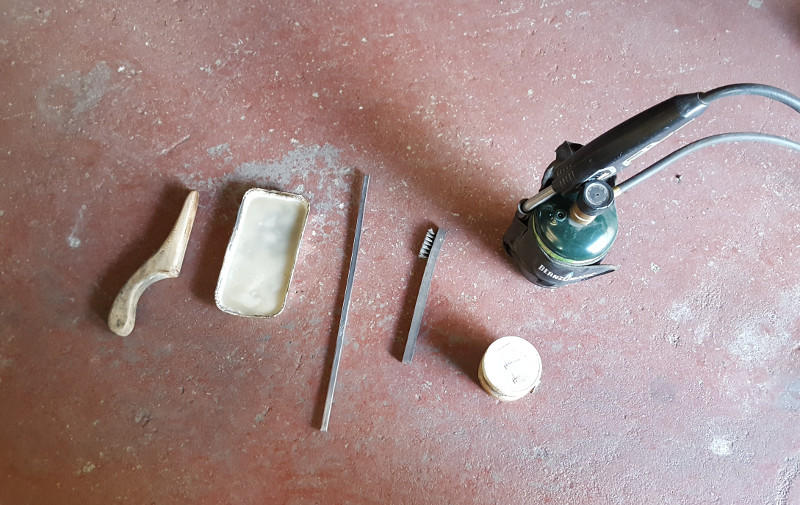
Image 5, I have already applied flux to the area making sure to flux a larger area then the repair requires in all directions (more on this later). Now, in this image I am heating the flux just enough to reach its melting point around 612°F. The propane torch that I’m using here burns at around 3600°F. So finesse is key from here on out. Taking my time I warm small areas with the torch until the flux flashes. Then I message the flux with a
wire brush to ensure 100% adhesion through out. This is the most important step of this type of repair. If the flux does not stick properly, then contaminants like paint or fillers are likely present. These contaminants can effect the finish of this repair and even the finish of the final paint job.
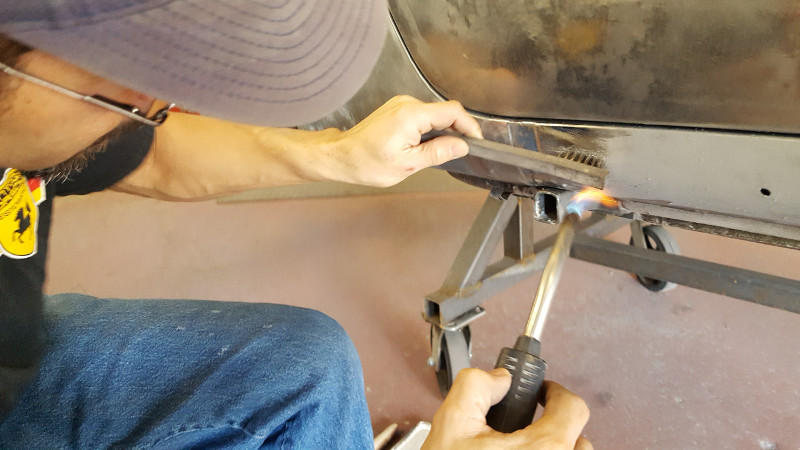
Image 6 shows the entire area has been fully “tinned” and is ready to accept our lead.
In Image 7, you can see that I have already started applying the lead. Like before, lead has a very low melting point so I work in small areas making sure not to over heat the base metal or the lead. Too much heat will warp the surrounding metal and the lead will simply liquefy and drop off.
In Image 8, I have taken the smoothing paddle with the tallow as a lubricant, and smoothed out the lead making sure that I have slightly over applied lead in all directions. Over applying will ensure a complete repair during the finishing stages of this repair. Now I will repeat this process down to the end of the rocker, doing an area of about 6”each time.
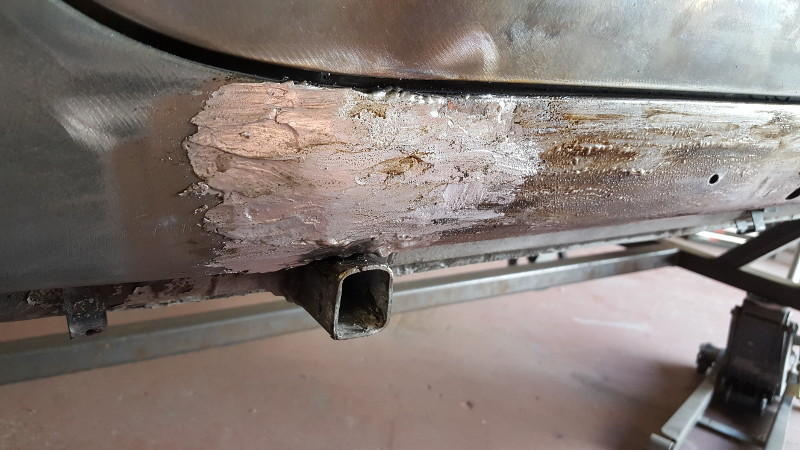
Image 9, shows some of the basic tools we will need to metal finish our lead installation. From left to right we have a hand block, 2 body files and 2 inline sanders. Note: lead is a contaminant and is not intended to be sanded. Most of the finishing will be done with the body files to keep the dust down. The sanding is used only as a visual guide to locate the highs and lows, like you would when doing traditional body work.
In Image 10, I have started to file down the area while checking for any potential imperfections along the way.
In Image 11, you can see the repair is almost complete. Most of the extra lead has been removed and the lead has been feathered out in all directions. Now we need to double check the accuracy of the work done so far.
In Image 12, we are taking a closer look at our accuracy. We can see the the area that was the lowest in the beginning is now slightly too high. This will better match the natural contours of the door, but does require a little more filing.

In Image 13 and 14 , the metal finishing has been fine tuned to match the shape of the body and our repair is now complete.
Some closing thoughts… Controlling the heat is key to this type of repair. Once heat control is mastered, lead work can be done on vertical surfaces like this and in this case in particular, slightly over hung or upside down.
Thank you and good luck on your own restorations…