Exterior Sheet Metal Patch Panel Installation Guide
by Troy Smith
Body Mechanic/Fabricator
In this article I will be explaining how to install a patch panel on the outside sheet metal of a restoration project vehicle. The purpose of this article is to explain how to professionally finish a patch style repair with limited to no access to the back side of the repair area and how to proceed once the patch has been made. This is the difference between a quality repair, and a repair that will fail in the future.
Disclaimer: Before we begin, all standard safety precautions should be followed when working in a shop environment. Common sense rules the day!
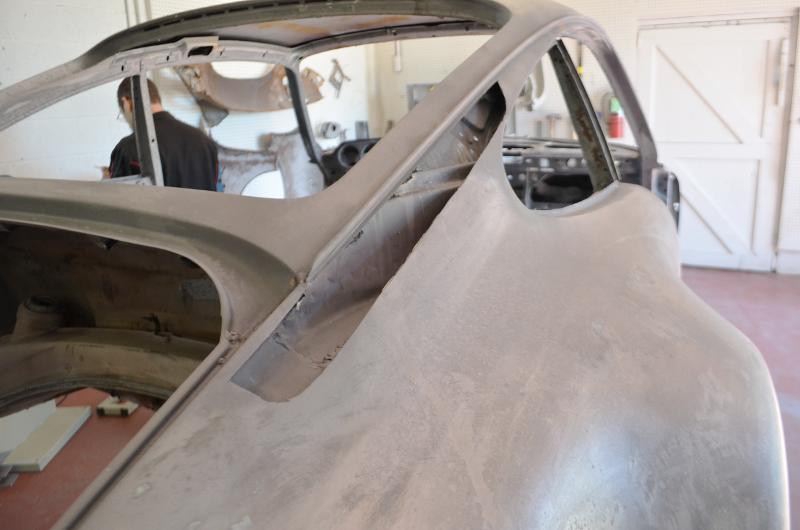
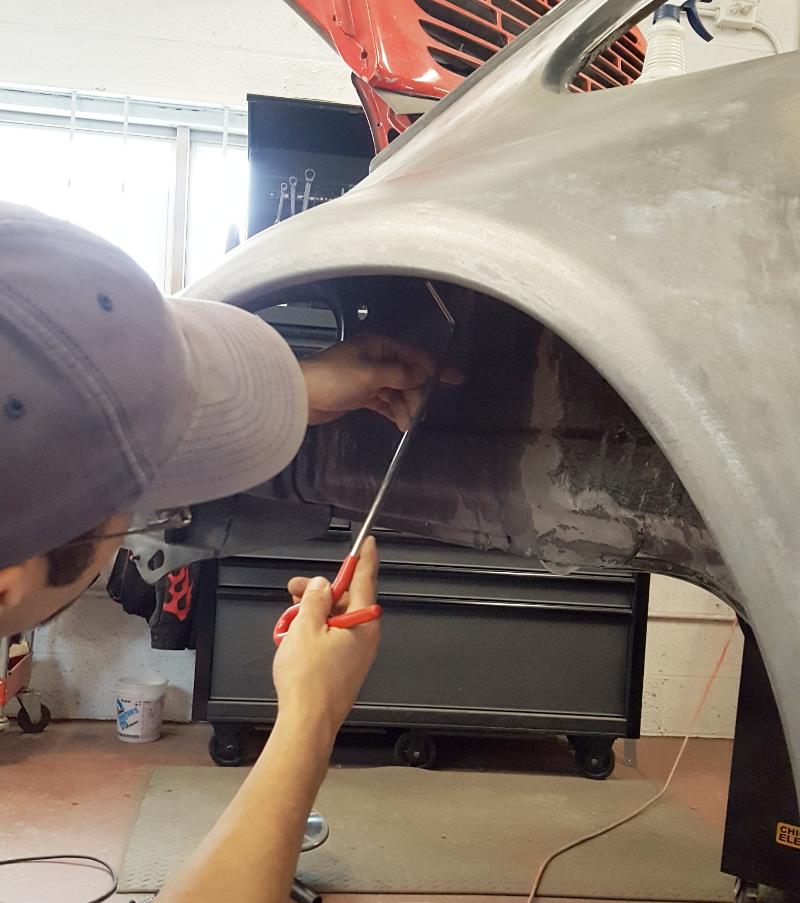
In Image 1, you can see that the patch area has been cut out, cleaned, and prepped for welding.
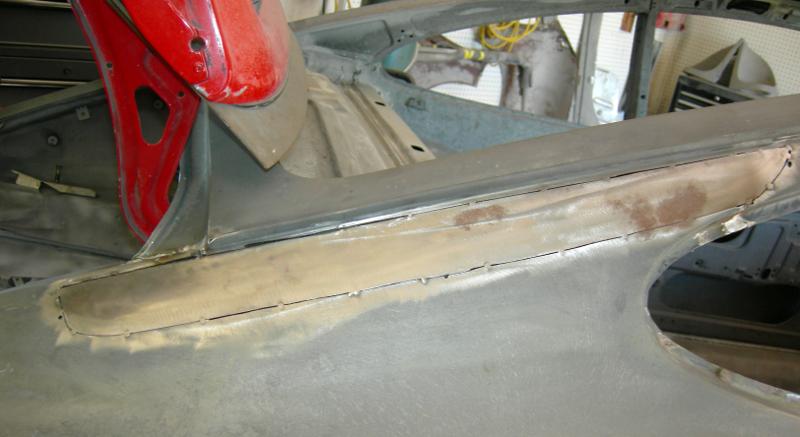
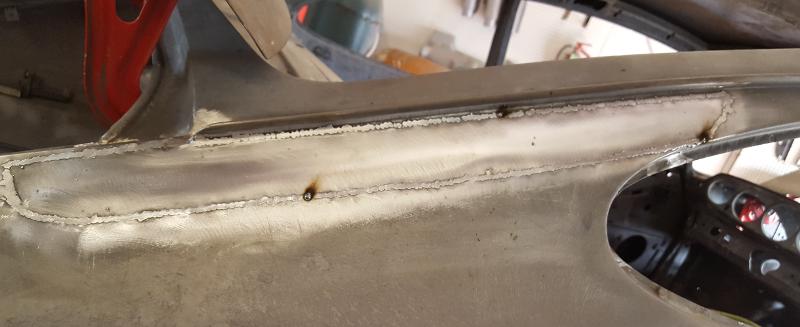
In Image 2, our custom patch has been made and tack welded into place. Take note of the tack weld spacing. I will be using this spacing to weld around the patch to distribute the heat absorption and minimize the panel distortion.
At this point, I will make a final check to ensure patch fitment, alignment, and weld area cleanliness. Now it’s time to weld. While welding (mig welding in this case), I will weld 2-3 tack welds at each of the original tack locations taking great care not to weld too long in any one area. Too much heat, too fast and in too small of an area, will distort the patch fitment and will require extra time to repair. I will continue welding 2-3 tacks per location until the entire patch is welded into place.
In Image 3, the patch has been completely welded into place and at this point the grinding and finishing process can begin.
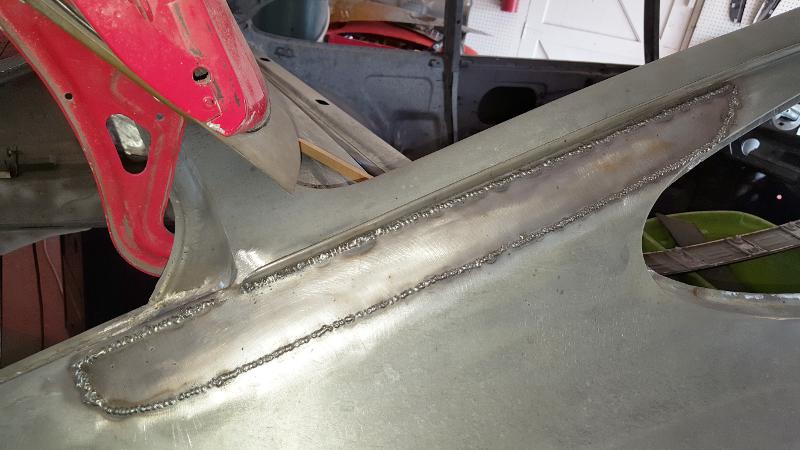
Image 4 shows the beginning of the grinding process. Using a grinding stone, I will grind the top two thirds of the weld area. This grinding method will help protect the original sheet metal from over grinding. While grinding, I am inspecting the welds for pin holes and or weld contaminants called weld porosity.

Image 5, shows the welds partially grinded down and a small pin hole between two tack welds.
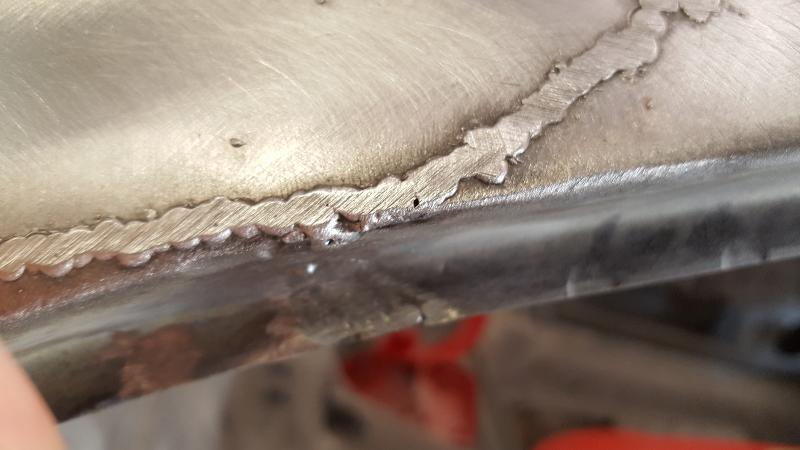
Image 6 shows the entire patch welded, grinded down, and 3 small touch up welds.
In Image 7, you can see that I have already started the metal finishing process. I am using 50 grit on a die grinder to level out the welds and blend the welds into the sheet metal. It’s important to only grind down the welds to the sheet metal. Over grinding can occur quickly at this stage.

In Image 8, you can see the results of the blending with the die grinder.
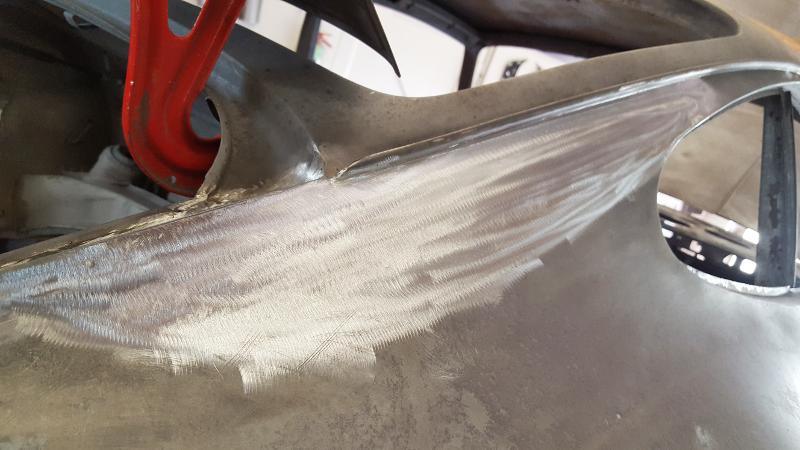
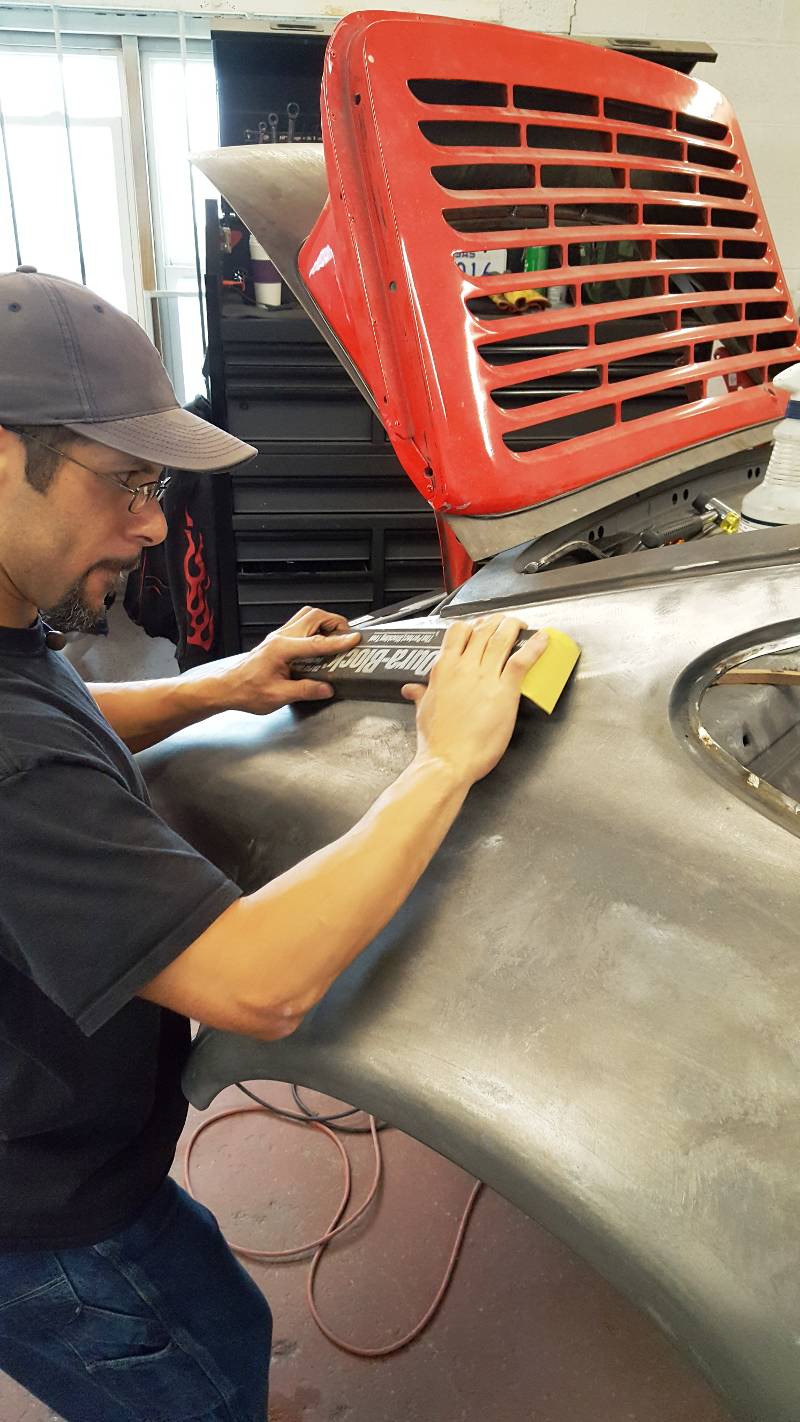
In Image 9, I begin block sanding the patch, checking for any misalignment between the patch and the original sheet metal of the car. You can use layout fluid or an engineers die as a visual aid, but the sand scratches left from the block sanding are enough in this case.
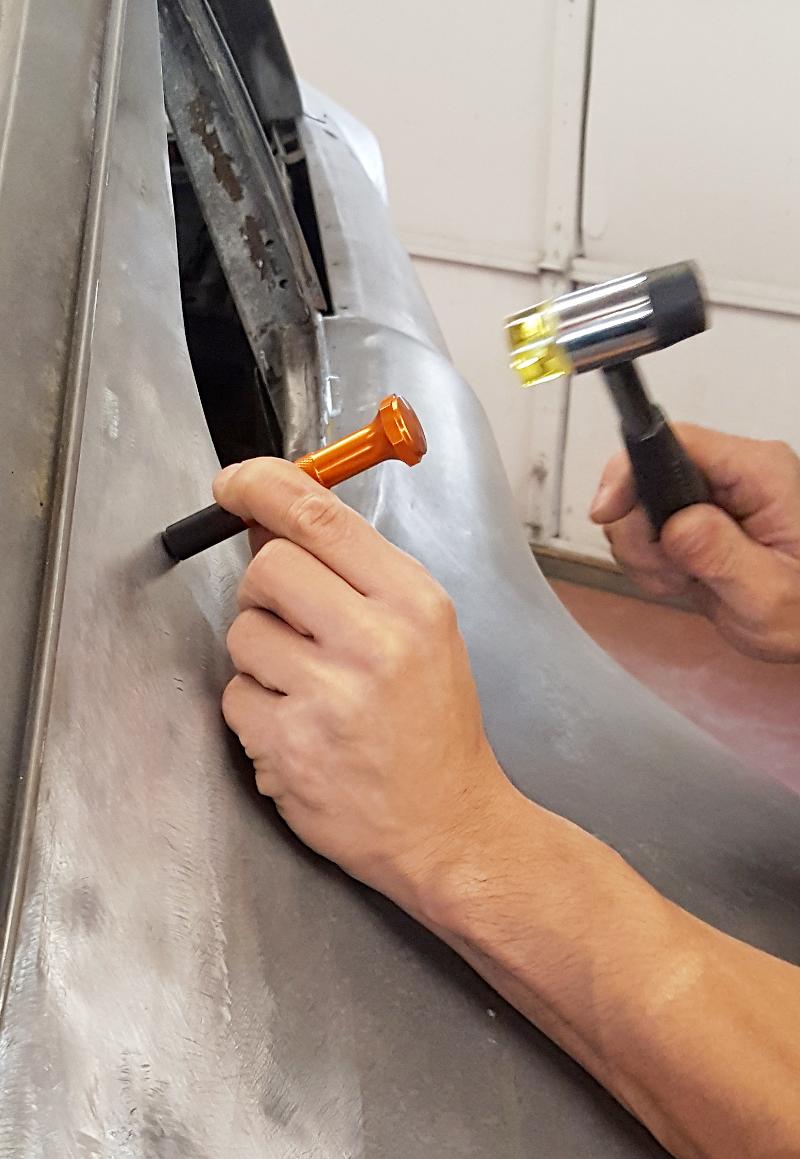
In Images 10 and 11, I am making some final adjustments to the patch area using a light weight hammer and punch combination to knock down any highs, and a long reach pick to push up any lows that are present.
In Image 12, you can see the end result of all of the work that went into this repair.

Some closing thoughts… Great care was taken during the initial welding process to minimize panel distortion as much as possible. This was due to having almost no access to the back side of the patch area – making any touch up hammer and dolling impossible. So controlling the heat input, while welding in this case, was critically important and a must. Thank you and good luck on your own restorations…
This month’s article may also be downloaded. Download the PDF here. (1 MB Download)